
Process
How a DENSE floor is built.
Every floor goes down in the same order, starting with the concrete. Here is what we do at each step and why it matters.
Installation
From bare slab to finished floor.
- 01
Moisture test
We test the slab for moisture before anything else, so repairs and the choice of coating are based on what we find.
- 02
Crack and joint filling
We fill cracks and joints in the slab, so the coating goes down on a continuous surface instead of bridging gaps.
- 03
Diamond grinding with dust extraction
Mechanical diamond grinding opens the surface of the concrete so the coating can bond to it. Dust extraction runs while we grind.
- 04
Full vacuum before coating
We vacuum the whole floor before coating, so no dust is left between the concrete and the base coat.
- 05
Base coat
The first coat goes onto the prepared concrete and bonds to it. Every layer above is built on it.
- 06
Full flake broadcast
Colored flakes are broadcast into the base coat until it is fully covered. They give the floor its color and texture.
- 07
UV-stable topcoat
A clear, UV-stable topcoat seals the floor. It is the chemical-resistant layer your tires, tools and boots touch.
- 08
Cleanup
We clean up and leave the garage ready to cure. The times below tell you when you can use it.
Shown for Full Broadcast Flake. Solid Color, Quartz and Metallic replace the flake broadcast with their own layer; every other step is the same.
Timeline
When you can use it.
- Installation
- 2 days
- Walk on it
- 24 hours
- Park on it
- 72 hours
Layers
Four layers, one system.
The finished floor, from the prepared slab up.
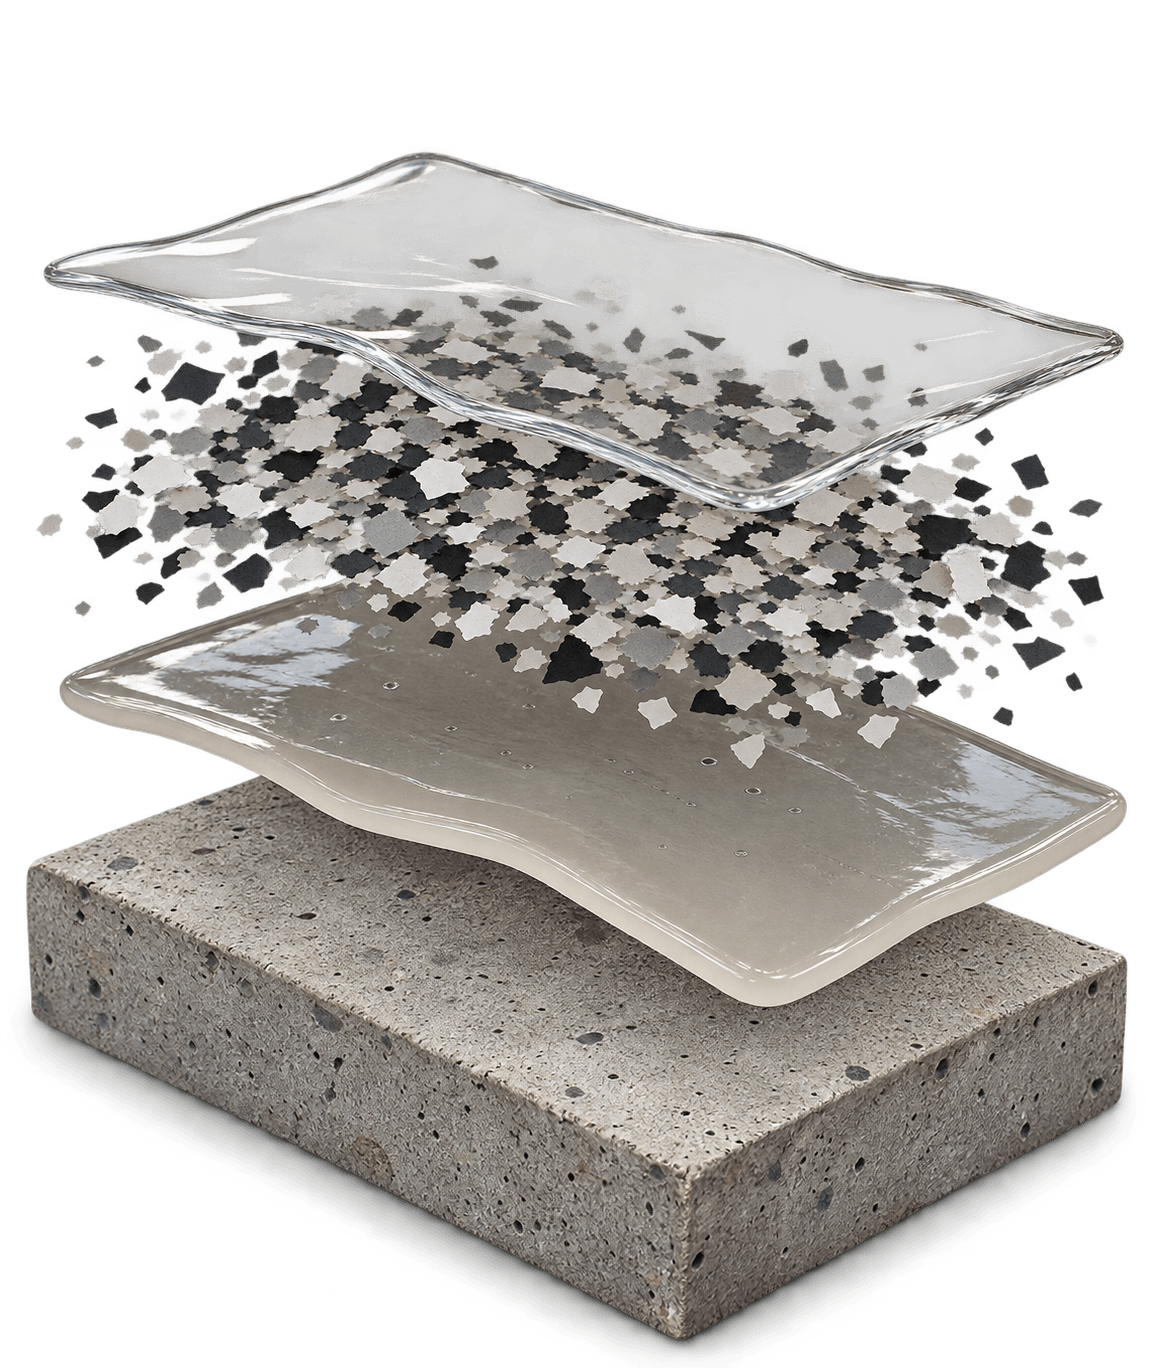
- Topcoat
- Full broadcast flake
- Base coat
- Prepared concrete slab
Process
Four steps from estimate to install.
- 01
Get a rough estimate
Answer a few questions about your garage and see a price range before you share any contact details.
- 02
Free on-site estimate
We inspect the concrete, test for moisture, and confirm the final price.
- 03
Choose your system and color
Pick the system and color that suit how you use the garage.
- 04
Installation
Grinding, repairs, coating, and cleanup.
2-day installation
